

 Download
 Buy
BuySQLite Maestro online Help
| Prev | Return to chapter overview | Next |
Trigger Editor
Trigger Editor can be opened automatically after the trigger is created and is available on editing the trigger.
The basic principles of Object Editors in SQLite Maestro are considered in the corresponding topic. See below to find the description of editor tabs that are unique to the current object.
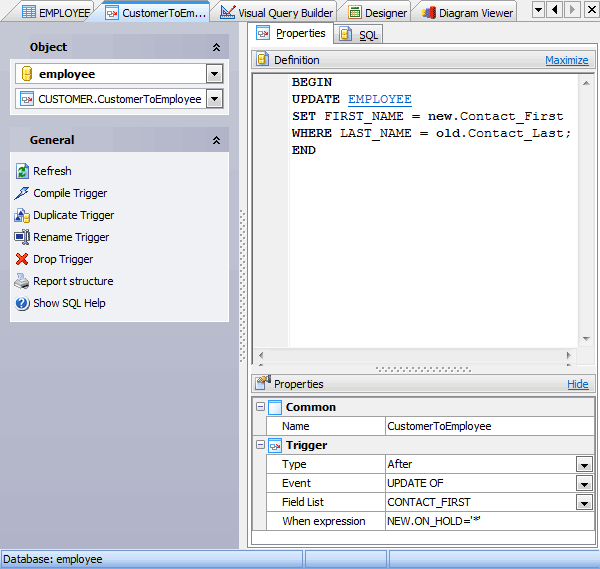
The main tab of the editor consists of several parts:, trigger definition, and trigger properties.
Definition
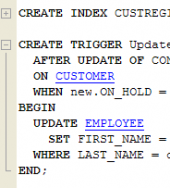
Defines the trigger conditions and actions. Trigger steps can be SQL statements (update, select, insert, or delete).
Properties
Name
Here you can view and change the trigger name.
Note: the name of the object must be unique among all the object names in its container. Moreover, all the objects that are source of data need unique names among themselves. You can use any identifier that is allowed by SQLite server.
Type(Before, After)
Determines whether the function is called before or after the event. When trigger is created on view, you should specify INSTEAD OF type. The real tables underlying the view are not modified (except possibly explicitly, by a trigger program).
To apply the changes, select the Apply Changes item in the Navigation bar or use Ctrl+F9 or Ctrl+F7 shortcut keys.
It is also possible to modify object properties without opening the object editor: use the Object Properties item of the popup menu of the selected object from the explorer tree.
| Prev | Return to chapter overview | Next |