

 Download
 Buy
BuyASA Data Sync online Help
| Prev | Return to chapter overview | Next |
SQLite
As SQLite is implemented as an embedded database engine contained in a single DLL, SQLite databases usually are stored locally or in the shared folders. To connect to such database, you should provide only a full database file name (e.g. C:\Data\SQLite\MyDatabase.db3) and a password (only for encrypted databases).
To read and write encrypted databases, ASA Data Sync uses the free wxSQLite3 library that is included into the installation package. This means it can operate only with encrypted databases created by itself or by any other tool that uses the same library. Unfortunately, our software cannot connect to databases encrypted by any other library because different SQLite security extensions use different algorithms, which are not compatible with each other.
SQLite engine does not support network connections, however ASA Data Sync allows you to manage remote SQLite databases using the HTTP tunneling technique. For this purpose, you need to have a webserver running on a computer that stores the database file. Of course this webserver should be accessible from your workstation and you should be able to upload files there.
 More about connection via HTTP tunnel
To connect to a remote SQLite database using an HTTP tunnel, you need to:
Note 1. Do not forget to enable read/write permissions for a database file and read/write/execute permissions for the directory where the database file is stored.
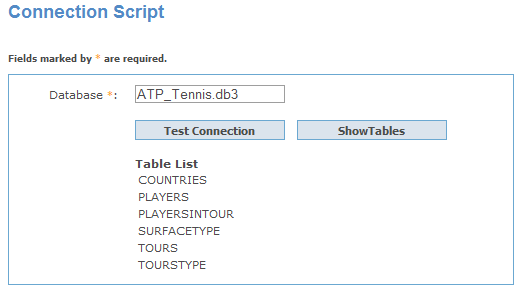
Note 2 (only for SQLite 3 databases). The webserver PDO_SQLite library must be compatible (not earlier in the most cases) with the library the database was created with. If they are not compatible, you will get an error message "Could not retrieve table list from _database_name_ ... " on getting a table list at the connection script. If you've got the message, check the PDO_SQLite library version using, for example, the phpinfo() function, download a compatible library from the SQLite official website, get an SQL dump of the database and create a new one from the dump file with this library. |