


 Download
 Buy
BuyMaxDB Maestro online Help
| Prev | Return to chapter overview | Next |
Fields
Table columns are created and edited within the Field Editor.

To add a new table column, you should either:
or
or
|
Table fields are edited within the Field Editor dialog window. In order to open the dialog you should either
or
You can change the name of the field using the Rename Field dialog. To open the dialog you should either
or
|
To drop the table field:
or
and confirm dropping in the dialog window.
|
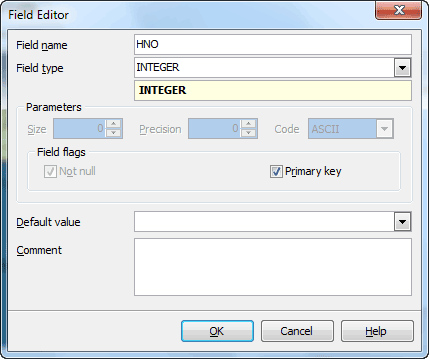
To specify the Data Type, select it from the drop-down list or complete the appropriate field manually in case of data type lacking in this list.
Note: the name of the object must be unique among all the object names in the table. You can use any identifier that is allowed by MaxDB server.
Parameters
Use the Size edit box to define the length of the field value for integer, float, char and other data types and use Precision to define the precision of the field value, e.g. for float data type.
Code
A code attribute defines the sort sequence to be used for comparing field values. There are four types code attributes:
| • | No code attribute |
The column values have the code attribute defined in the database system.
| • | ASCII |
The column values are stored in ASCII code.
| • | BYTE |
The column values are stored in a code, that is, the column values are not converted by the database system.
| • | UNICODE |
The application data in a table column is stored in UNICODE.
Note: The code can be defined for specific users or globally.
Field flags
 Not Null
Forbids the NULL values for the field.
Unique
Includes the field into the unique key (index).
Primary Key
With this option checked the field becomes the only field with a primary key. If you check this field, you will not be able to set this attribute for any other field in the table. Hence if you want to create a compound primary key, do not check this field but create a primary key through the Indexes tab of Table Editor or the appropriate step of Create Table Wizard.
Default value
Within the box you can assign a default value for the field column. The action is optional. If the default value was specified during the new row created and no values is specified for some of the columns, the columns will be filled with their respective default values.
The Comment box allows you to set optional text describing the field.