


 Download
 Buy
BuyPostgreSQL Maestro online Help
| Prev | Return to chapter overview | Next |
NOT NULL constraints
A NOT NULL constraint is the most generic constraint type. It allows you to specify that the value in a certain column must satisfy a Boolean (truth-value) expression.
The NOT NULL Constraint editor allows you to add a new check constraint or edit an existing one. This dialog can be invoked from Table Editor, or via the popup menu of the corresponding nodes of the explorer tree.

NOT NULL constraints are created within NOT NULL Constraint Properties dialog window. In order to open the dialog you should:
|
NOT NULL constraints are edited within the NOT NULL constraints Properties dialog window. In order to open the dialog you should:
You can change the name of the NOT NULL constraint using the Rename NOT NULL Constraint dialog. To open the dialog you should:
|
To drop the NOT NULL constraint:
and confirm dropping in the dialog window.
|
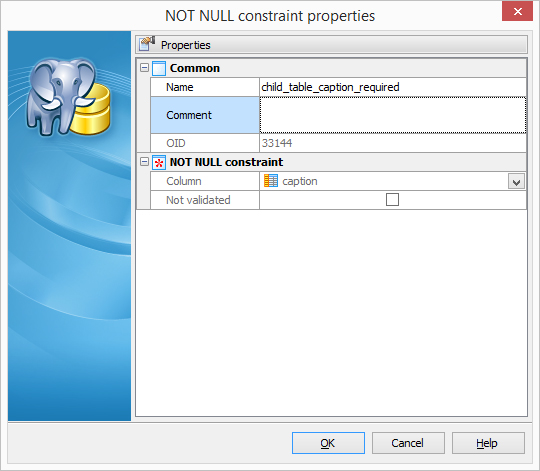
Name
The name of the NOT NULL constraint.
Comment
The box allows you to set optional text describing the NOT NULL constraint.
Column
Select the table column this constraint to be applied.
 Not validated
Turn this option ON to skip a scan of the table to verify that all existing rows in the table satisfy the constraint. In this case the constraint will be applied against new inserts or updates. The database will not assume that the constraint holds for all rows in the table, until it will be validated manually via popup menu of the NOT NULL constraints tab in the Table Editor. Icons for not validated constraints are marked with a red exclamation mark in GUI.